How to Take a Student ID Photo for US Colleges and Universities (2026)
Congratulations — you're officially a college student. Now comes one of the first real tasks on your pre-arrival checklist: submitting your student ID photo. This is the picture that goes on your campus card, the one you'll be flashing at the library, the gym, the dining hall, and pretty much everywhere else on campus for the next few years — so it's worth getting right.
The good news is you don't need a studio or a photographer. Most US universities let you upload your ID photo online before you even set foot on campus, and your smartphone is more than enough to do the job. This guide walks you through exactly how to take a student ID photo that clears first-time review, based on official card office requirements from Harvard, the University of Iowa, the University of Houston, and NC State.
What Is a US Student ID Photo and Where Is It Used?
A US college or university student ID photo is a formal photograph submitted to your institution's card office as part of the process of obtaining your campus ID card (often called a Hawk Card, One Card, HawkCard, Wolfpack Card, CUID, or your school's equivalent). Unlike a social profile picture, a student ID photo is an official institutional identification document.
Your student ID photo is not only printed on your physical campus card — it is also typically stored in your institution's identity management system and may be visible to:
Course instructors and teaching staff, who use it to match names to faces in their rosters
Academic advisors and administrative staff
Campus security and police, for identity verification
Exam proctoring and academic integrity systems
Library, dining, and building access systems
University directories and degree audit portals
Because your photo appears in multiple official systems beyond the physical card, universities treat it as a formal identification photograph rather than a casual profile image. Submitting a poor-quality, filtered, or non-compliant photo can result in rejection and delay your card pickup — which in turn may delay access to buildings, dining plans, transit passes, and library services that are tied to the card.
There is no single national standard for US student ID photos. Every college and university sets its own specifications. Always check your institution's card office website before submitting. This guide covers the requirements that appear consistently across US institutions and gives you the safest defaults when your school's requirements are not fully specified.
How to Take a Compliant Student ID Photo at Home: 6 Steps
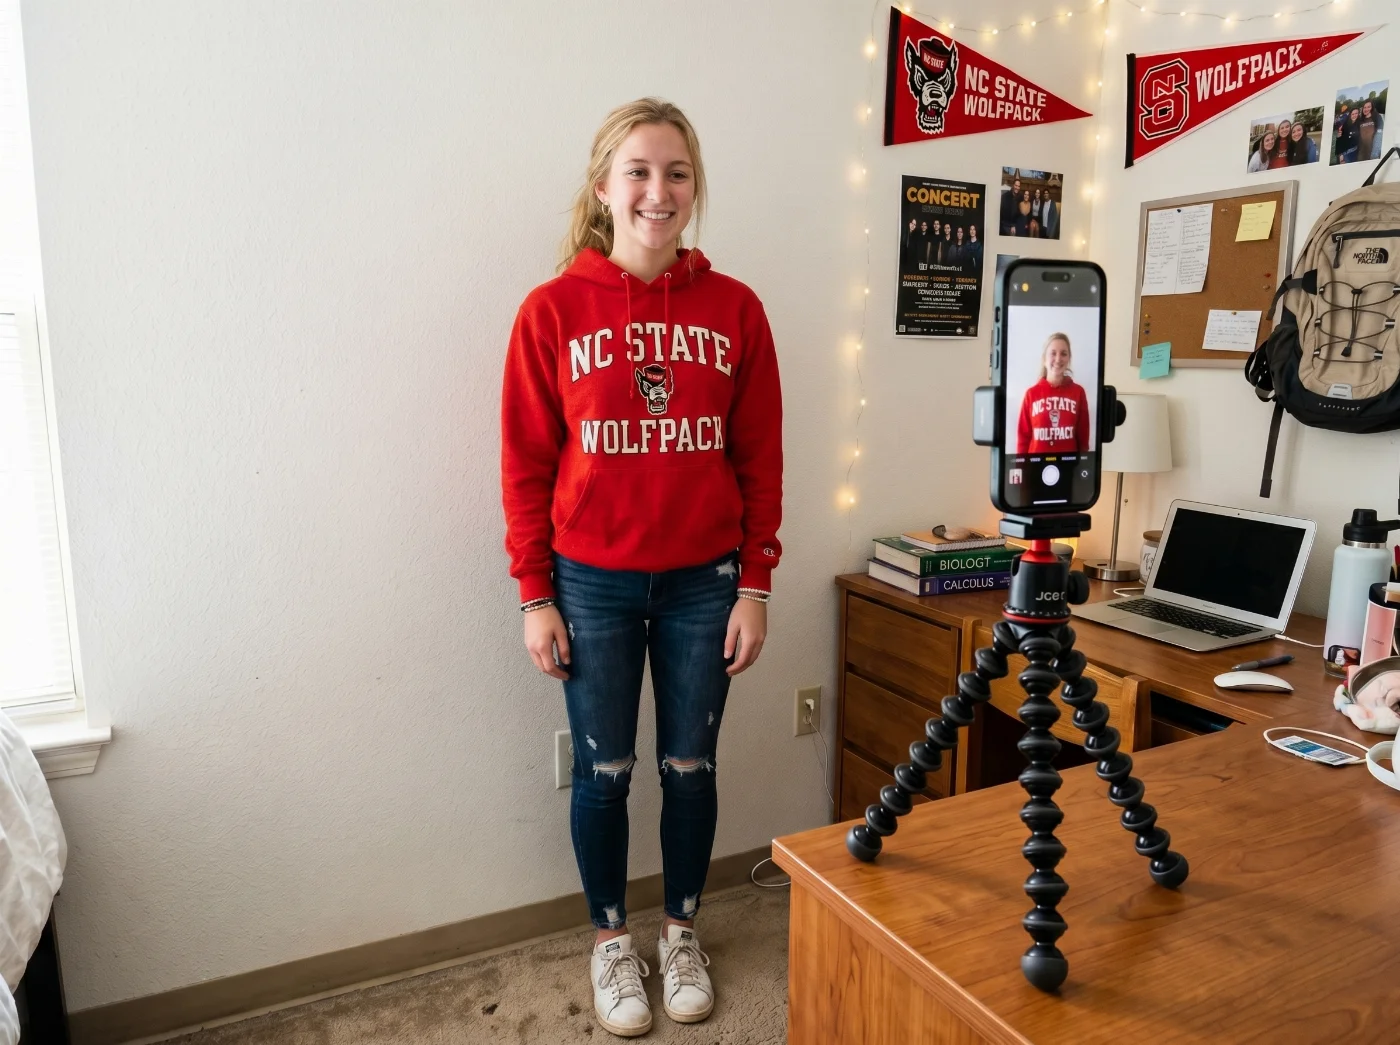
Step 1: Set up your background
Find a smooth, solid white or light-colored wall. White is the safest choice — a white student ID photo background is accepted by all schools. Light gray or beige is accepted by some but not all institutions.
If your walls are not a suitable color, tape a clean, flat sheet of white foam board, poster board, or printer paper to a wall. The surface must be completely smooth — even light wrinkles or creases create shadow lines that appear in photos.
Stand at least 3 feet (1 meter) from the background. At this distance, your body does not cast a shadow onto the wall behind you. Shadows on the student ID photo are the most common cause of background shadow rejection.
Remove all objects, furniture, artwork, and items visible behind you. The background must show only a single solid color.
Step 2: Set up your lighting
Position yourself near a large window — it has to be on the side, or in front of you, but not behind. This produces soft, even lighting across both sides of your face.
If using artificial lighting: place two lamps at 45-degree angles on either side of your camera, at face level. This eliminates shadows under the eyes, nose, and chin.
Avoid overhead lighting — it creates shadows under the eyes and the chin. Don’t use flash.
Check for even lighting on both sides of your face before shooting. In a mirror or on-screen preview, both sides of your face should appear equally lit with no visible shadow.
Step 3: Set up your camera
Use your phone's rear camera — not the front-facing selfie camera. Rear cameras on modern smartphones capture at 36–48 megapixels with accurate color rendering. Front cameras capture at 12 megapixels and automatically apply beauty and skin-smoothing modes.
In your camera app settings, turn off: Portrait mode, HDR, Live Photo, Beauty mode, AI face enhancement, and any filter or skin-smoothing option. These features alter the photo in ways that university card offices explicitly prohibit.
Set the camera at eye level — not tilted up at you, as it makes the face look distorted, and not angled down at you, as it shrinks the face. Eye level produces a neutral, accurate image.
Use a tripod, a book stack, or prop your phone securely. Set a 3-second self-timer to avoid blur from pressing the shutter.
Step 4: Frame the shot correctly
Your framing must show: the top of your head (with a small gap above it — your head should not touch the edge of the frame), your full face, neck, and both shoulders. The bottom of the frame should be cut at approximately collarbone level.
Your face should be centered in the frame. Look at the preview: your nose should be at the vertical center of the image, and your face should be roughly centered horizontally.
Do not crop so tightly that only your face appears — the shoulders must be visible. Do not frame so wide that you appear very small in the image — your face should fill a significant portion of the frame.
Step 5: Position and expression
Face the camera directly. Both ears should be at the same height. No head tilt, no rotation to one side, no profile or three-quarter angle.
Both eyes must be fully open and clearly visible. Brush your hair away from your face before shooting — hair covering an eye is grounds for rejection at most institutions.
Expression: natural and composed. Most US schools permit a mild smile. An open-mouthed smile is not recommended. A forced or strained expression is not recommended. The most accepted expression is natural and relaxed.
Remove hats, beanies, bandanas, and sports team headwear. Religious head coverings are permitted; ensure your full face is clearly visible from forehead to chin.
Step 6: Shoot, review, and export
Take at least 10–15 shots. Micro-expressions, slight posture shifts, and eye positions change between frames in ways that are invisible in the moment but visible at full resolution.
Review each photo at full zoom on your phone. Check: both eyes fully open, even lighting on both sides of the face, no shadow on the background, face centered, no motion blur, hair away from the eyes.
Export the best photo as JPEG. If your school has a file size limit, compress the export: a JPEG at quality setting 75–80 (on a scale of 1–100) typically produces a file of 60–200 KB from a head-and-shoulders crop. Do not apply any editing, filters, or adjustments to the exported file. Crop to the correct framing before exporting, then stop. No retouching.
Use the PhotoGov student photo tool to create a compliant image that doesn’t require any adjustments and can be submitted right away.
What to Wear for Your Student ID Photo
Your clothing choice affects the overall impression from your photo, as well as its official acceptance. One rule overrides all others: do not wear white or off-white clothing if your background is white.
Colors that work well
Navy, dark blue, charcoal, black, and deep jewel tones (teal, burgundy, forest green) all photograph cleanly against a white or light neutral background.
Medium blues, purples, and greens are strong options. They contrast well with most background colors and most skin tones.
Solid colors are always preferable to patterns. Stripes, plaids, and prints create visual noise that draws attention away from your face.
Clothing to avoid
White, cream, ivory, or any light-colored top that may blend with your background.
Tube tops, spaghetti straps, and backless tops — some schools explicitly reject photos where the student appears bare-shouldered, as it can look as if they are not wearing a top at all in the cropped ID format.
Clothing with large logos, slogans, sports insignia, or team branding.
Shiny or reflective fabrics that create hotspots under lighting.
General appearance
Wear what you would wear to class on a normal day — neat and presentable, not formal. A student ID photo does not require professional or business attire.
Jewelry: keep it simple. Small earrings and a necklace are fine; large statement pieces may create glare or distraction.
Make-up: natural and consistent with your everyday appearance. The photo must match your actual appearance when you pick up your card in person.
Check Your University's Requirements Before Taking a Student ID Photo
Before taking or uploading any photo, go directly to your institution's card office website. Search for: [Your School Name] student ID photo requirements or [Your School Name] campus card photo upload.
Record these four things from your school's page before you take the photo:
Accepted file format (JPEG only, or JPEG and PNG, or JPEG and HEIC)
Maximum file size (this varies enormously — from 50 KB at Harvard to 2 MB at NC State)
Required or minimum image dimensions in pixels (if specified)
Background color requirement (white only, or white/light neutral, or any light solid color)
File size limits are the most commonly missed requirement. Harvard's limit of 50 KB is unusually strict — a standard phone photo taken at full resolution is typically 3–8 MB and must be compressed substantially. A photo that looks fine on your screen will be rejected by an upload portal that enforces a hard file size limit.
Common US University Student ID Photo Requirements

The following specifications appear consistently across US institutions. They represent safe defaults when your school has not fully specified a particular parameter.
Specification | Standard US University Requirement |
|---|---|
File format | JPEG (.jpg) — universally accepted. Some schools also accept PNG or HEIC. Always confirm with your institution. |
File size | Varies significantly by institution: 50 KB (Harvard) to 2 MB (NC State). If not specified: target 200–500 KB. |
Image dimensions | Varies: 280×296 px (Harvard), 300×400 px minimum (U Houston), 600×600 px (Northwestern). If not specified: 800×1000 px is a safe target. |
Resolution | 150 DPI minimum (U Iowa). If printing is involved: 300 DPI. For digital-only upload: pixel count matters more than DPI. |
Background | Solid white (Harvard, most schools). Some accept any solid light/neutral color. Never patterned, never outdoors, never a room scene. |
Framing / crop | Passport-style: head and shoulders. From just above the crown of your head to your collarbone. Face centered. |
Head position | Directly facing the camera, head upright, not tilted or turned. Both ears at the same height. |
Expression | Natural facial expression, both eyes open. Smiling is permitted at most US institutions. Extreme expressions not accepted. |
Eyes | Fully open and clearly visible. Not covered by hair. If wearing glasses: no glare. |
Glasses | Permitted at most institutions if eyes are clearly visible and there is no lens glare or reflection. |
Head coverings | Not permitted. Exception: head coverings worn as part of daily religious or medical practice are accepted. |
Attire | Neat and appropriate. Avoid white clothing (blends with white background). Avoid tube tops and spaghetti strap tops. |
Digital alteration | Not permitted. No filters, AI enhancement, beauty modes, skin smoothing, or retouching of any kind. |
Photo source | Must be an original digital photograph. Not a photo of a printed photo or screenshot. |
Recency | The photo must represent your current appearance. Most schools review for consistency with your physical appearance when you pick up your card. |
Student ID Photo Requirements Examples — Harvard and University of Iowa
The following comparison covers verified requirements from official university card office pages. Use the column for your institution as a starting point, then confirm current specifications directly with your school.
Specification | Harvard University | University of Iowa |
|---|---|---|
Format | JPEG (.jpg) or HEIC | JPEG (.jpg) or PNG |
File size limit | 50 KB maximum | Not specified (150 DPI min) |
Dimensions | 280 × 296 px | Not specified (150 DPI+) |
Background | White only — no shadows, no texture | Solid, light, neutral color |
Framing | Crown of the head to the collarbone | Shoulders to the top of the head |
Filters/editing | Not permitted — photo will be rejected | Digitally altered photos rejected |
Glasses | Permitted — no glare | Not specified |
Headwear | Not specified | Not permitted (religious/medical excepted) |
White shirt | Not specified | Avoid — blends with background |
12 Most Common Reasons US Student ID Photos Are Rejected
1. Shadow on the background. The applicant stood too close to the wall, causing their body to cast a visible shadow. Fix: stand at least 3 feet from the background.
2. Shadow on the face. A single light source from one side creates a shadow across the opposite side of the face. Fix: use two light sources or a large window facing you.
3. Head tilted. Even a slight tilt makes the photo look informal and may fail automated review. Fix: check a mirror before shooting — both ears should be at the same height.
4. Angled or profile pose. The face must face the camera directly. Any rotation is grounds for rejection.
5. Framed too tightly. Only the face is visible, no shoulders. The crop must show your head and the upper part of your shoulders — from the crown to the collarbone.
6. Colored or patterned background. Only a plain, solid white or light neutral background is accepted. Bedrooms, kitchens, outdoor settings, and patterned walls all fail.
7. Filters or digital alteration. Any filter, AI enhancement, beauty mode, or skin-smoothing is detectable and explicitly prohibited. Shoot with all enhancements turned off.
8. White shirt against white background. The clothing disappears into the background. Wear a color that contrasts with your background.
9. Hair covering the eyes. Both eyes must be fully visible. Tie back, pin, or push back any hair that falls across the eyes before shooting.
10. File too large. Especially critical at institutions with strict size limits (Harvard: 50 KB). Export at reduced JPEG quality (75–80) rather than uploading a full-resolution camera file.
11. Wrong file format. PNG submitted to a JPEG-only portal, or HEIC submitted to a portal that does not accept Apple's native format. Convert to JPEG before uploading.
12. Photo of a photo. Photographing a printed photo, screenshot, or displaying a photo on a screen and photographing that screen. All institutions require an original digital photograph.
Making it Right: Final Thoughts on Your Student ID Photo
Your student ID photo is a small task, but it is one worth doing carefully. It takes less than 15 minutes to set up correctly, and getting it right the first time means your campus card is ready before you arrive — so your first day is about orientation, not waiting in a card office line.
White background, rear camera, natural light, no filters, both eyes open, and a file size that fits within your school's upload limit. That is genuinely all it takes. Check your institution's card office page for the exact specs, follow the steps in this guide, and your photo will clear review on the first submission.
Frequently Asked Questions
Can I Take My Student ID Photo With My Phone?
Yes — a smartphone is the right tool for most students. Use the rear camera (not the front-facing camera), turn off all portrait modes and beauty features, and set a self-timer so you are not holding the phone while shooting. The rear camera on a modern smartphone produces more than enough resolution and color accuracy for a campus ID photo.
What Background do I Need for My Student ID Photo?
White is the safest choice for all US institutions. Most universities require white or specify a solid light/neutral color. Light gray is accepted by some schools, but not all. Blue, beige, or any non-neutral color is typically rejected. When in doubt, use white. A sheet of white poster board taped flat against a wall provides a smooth, consistent white background without needing to find a suitable wall.
Can I Smile in My Student ID Photo?
Yes, at most US universities. Unlike biometric passport photos (which require a neutral expression), campus ID photos at the majority of US institutions permit a natural smile with eyes open. Check your specific school's requirements — a small number of institutions prefer a neutral expression. The most important requirement is that both eyes are fully open and clearly visible, regardless of expression.
Can I Wear Glasses in My Student ID Photo?
Yes, at most US institutions. There is no general prohibition on glasses in student ID photos. The requirement is that your eyes must be clearly visible — which means no glare or reflection on the lenses, no tinted lenses or sunglasses, and no frames that cover the eyes. Anti-reflective coated lenses are much easier to photograph without glare. If you cannot eliminate lens glare in your setup, removing glasses for the photo is the simplest solution.
What Happens if My Student Photo is Rejected?
Your institution's card office will notify you by email (usually to your official university email address) and ask you to submit a new photo. Your card will not be printed until a compliant photo is approved. If you are an incoming student, a rejection before arrival may mean your card is not ready for pickup on your first day of campus — which can delay access to buildings, dining, and transit services. Submit your photo early enough to allow time for a resubmission if needed.
Can I Use an AI-Generated Photo for My Student ID?
No. Every US university card office that has addressed this explicitly prohibits digitally altered, AI-generated, or AI-enhanced photos. For example, the University of Iowa's guidelines specifically list photos altered by photo-editing software, apps, filters, or AI as grounds for automatic rejection. A campus ID card is an official identification document; the photo must be an authentic, unretouched representation of your current appearance.
How is a Student ID Photo Different From a Passport Photo?
A passport photo is governed by strict government biometric standards with fixed dimensions, specific face-coverage percentages, and precise background color requirements. A student ID photo is governed by your institution's card office — specifications vary by school, smiling is generally permitted, file format and size limits differ significantly, and there is no standardized pixel requirement across institutions. The framing (head and shoulders, facing forward) is similar to a passport photo, but the regulatory framework is entirely different.
Do I Need to Update My Student ID Photo?
Usually not. Most universities print your photo on your physical card when it is first issued. If your appearance changes significantly — a very different hairstyle, new or removed facial hair, glasses, or any change that would make you difficult to recognize from the photo — you can typically request a replacement card with a new photo from your institution's card office. Some schools charge a replacement fee; others do not. Check your institution's card replacement policy.
Official Sources
ID Card Photo Submission Instructions, Harvard: Harvard University Campus Service Center
ID Photo Requirements, University of Iowa: University of Iowa ID Card Programs
Student Card Photo Requirements, University of Houston: University of Houston Cougar Card —
Wolfpack One Card — Photo Upload: NC State University
Student ID Photo Requirements Hub: Passlens University
Passport Photo Requirements in the U.S.: US Department of State
Was this helpful?
66 found this helpful
Authored by:
Nathaniel K. Rowden (Compliance consultant)Top expert
Verified by the Photogov compliance team
ICAO 9309-compliant
Based on official government sources
Helpful votes: 66
Was this helpful?
66 found this helpful
We value your Privacy
We use cookies to enhance your browsing experience, serve personalized ads or content. By clicking “Accept All”, you consent to our use of cookies.