Background and Lighting Errors in Digital Passport Photos & How to Fix Them
Background and lighting errors are one of the leading causes of digital passport photo rejections in 2026. When you upload a digital photo online, it is checked by an automated validation system in several stages, and the very first stage focuses on background and lighting analysis. The software needs a clean background and natural, even illumination across the whole image before it can proceed to the biometric check and read your facial features.
Even a slight deviation from the system’s standard background and lighting profile may trigger an automatic rejection. Small defects such as subtle gradients on the wall, uneven brightness, or a faint shadow around your head may be invisible to the naked eye or on a phone preview, but a validator detects them immediately. That is why it is important to prepare a digital photo correctly.
This complete guide to background and lighting errors provides practical solutions for creating a compliant digital photo that can pass automatic validation.

Why Background and Lighting Errors Cause Digital Passport Photo Rejections
Before any biometric measurements are taken, a digital passport photo goes through several automatic checks that focus on background, lighting, and overall image quality. Each check is tuned to catch typical problems, including uneven brightness, strong shadows, color casts, heavy filters, or visible editing.
The software first evaluates how bright the image is overall and how evenly the light falls across the background, flagging photos where parts of the wall are too dark, too bright, or clearly different in tone from the rest. It then examines the edge where the face meets the background: this contour should be clean and consistent, without doubled outlines, harsh shadow lines, or signs of cut‑out and artificial smoothing. Color checks confirm that the background stays within a narrow neutral white range and does not tint the skin.
Finally, the system looks for technical issues that reduce clarity, such as strong noise, heavy compression, or contrast that is too high or too low. If any of these patterns fall outside the accepted range, the image is marked as non‑compliant and rejected, even if it looks “good enough” on a regular phone screen.
The Standards Behind Background and Lighting Requirements
Background and lighting are graded against the toughest requirements in the entire validation pipeline. They are based on two international standards: ICAO Doc 9303 and ISO/IEC 19794-5 and define the background and lighting conditions a compliant digital passport photo must meet.
In practice, this means that a successfully accepted digital photo possesses these 5 key characteristics:
A neutral, pattern-free background
Even illumination across the entire frame
Natural rendering of skin tones
Clear contrast between the head and the background
A stable, even distribution of light and shade
The automatic validation system analyses the image based on these essential parameters. Let’s see what stands behind them.
Requirement | What the system checks | Why it matters |
1. Background | Plain, neutral, texture-free surface with no objects or patterns | Prevents segmentation errors when separating the head from the background |
2. Brightness | Similar brightness levels across the frame, with no strong hotspots or deep shadows | Keeps key detection points stable and prevents the face from falling outside exposure limits |
3. Skin tone | Natural-looking skin tones without heavy color casts or filters | Supports reliable identity matching and consistency with other official photos |
4. Contrast | Clear but not extreme contrast between the face and the background | Allows the algorithm to trace the head boundary and locate facial landmarks accurately |
5. Lighting evenness | Stable, even distribution of light with no hard shadows or bright patches on the face or background | Preserves accurate facial geometry and a clean silhouette around the head |
Lighting and Background Errors That are Easy to Overlook
The details that are easiest to miss in a digital passport photo include:
Subtle contrast shifts between the face and the background
Minor changes in color temperature
Gentle brightness gradients across the wall
Non‑uniform luminance across the frame
“If these subtle errors are so easy to miss, how can I make a digital photo that is accepted by an automatic validation system?” — this is the most natural question at this point. The guide below answers it step by step: it breaks down each typical background and lighting error, shows how the system detects it, and gives a clear, practical fix you can apply before submitting your digital photo.
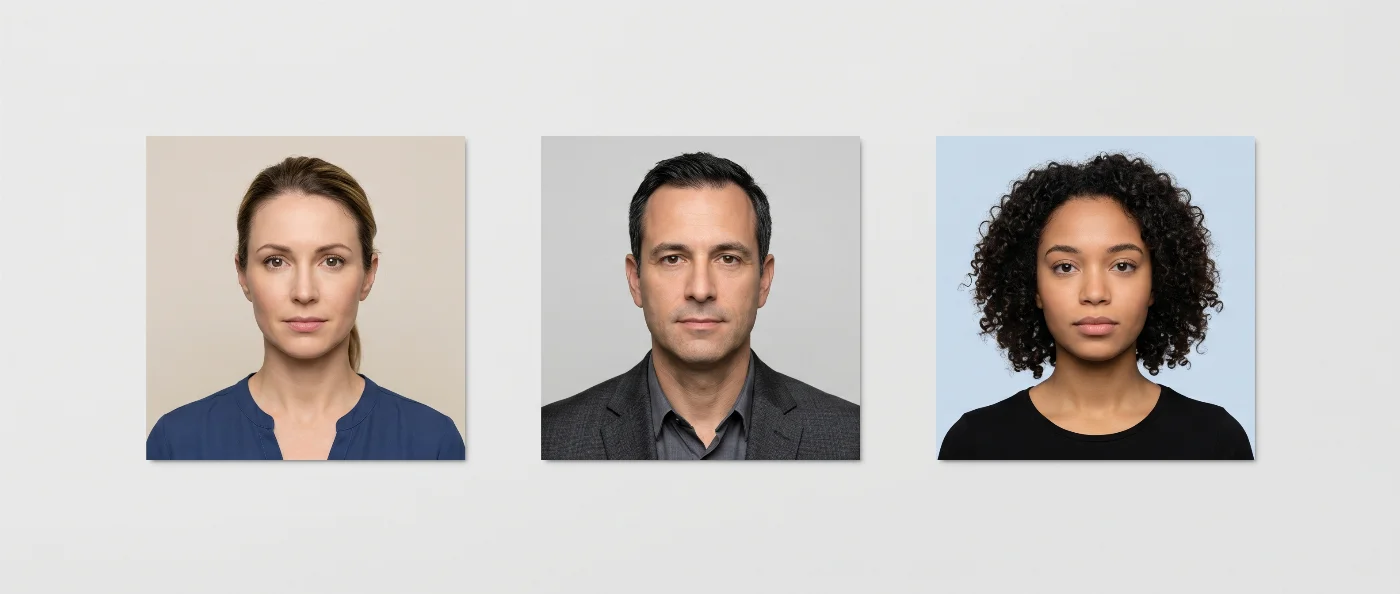
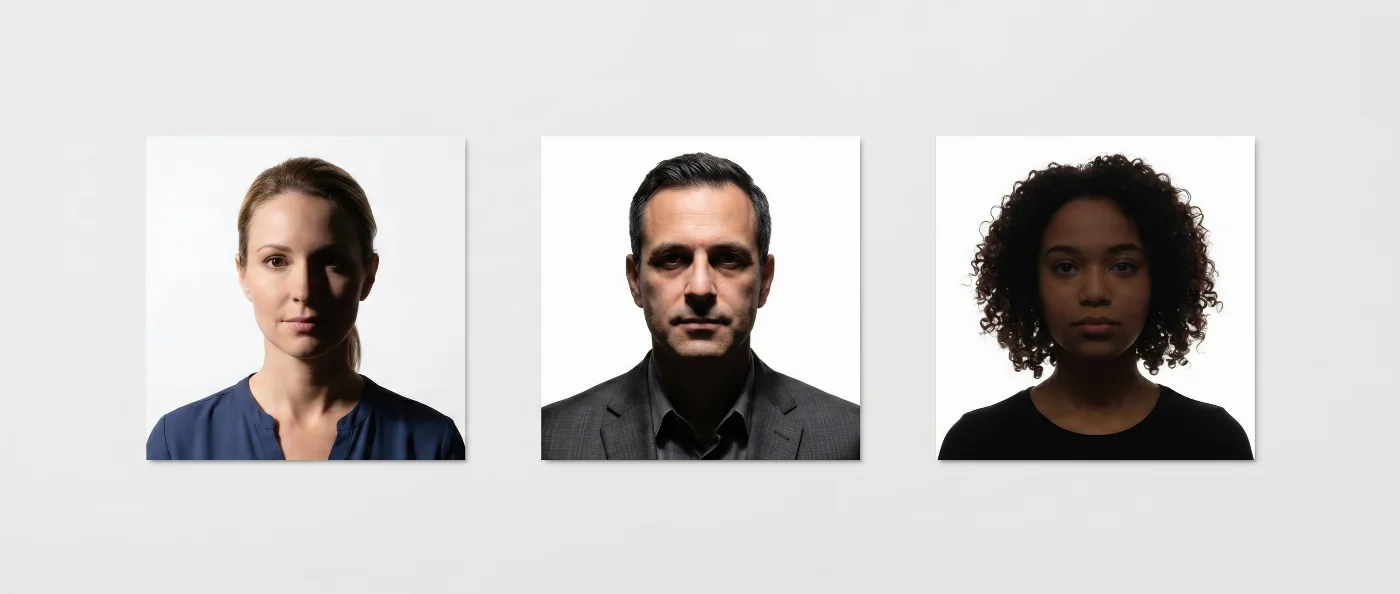
5 Key Background Errors in Digital Passport Photos
The background of a digital passport photo is one of the first elements the automated system inspects. It is analysed pixel by pixel for uniformity, color, and edge integrity, so even subtle gradients, soft shadows, or unintended color casts create measurable inconsistencies that are flagged as non‑compliant. Let’s look at the most common background errors and how to fix each of them before you submit your photo.
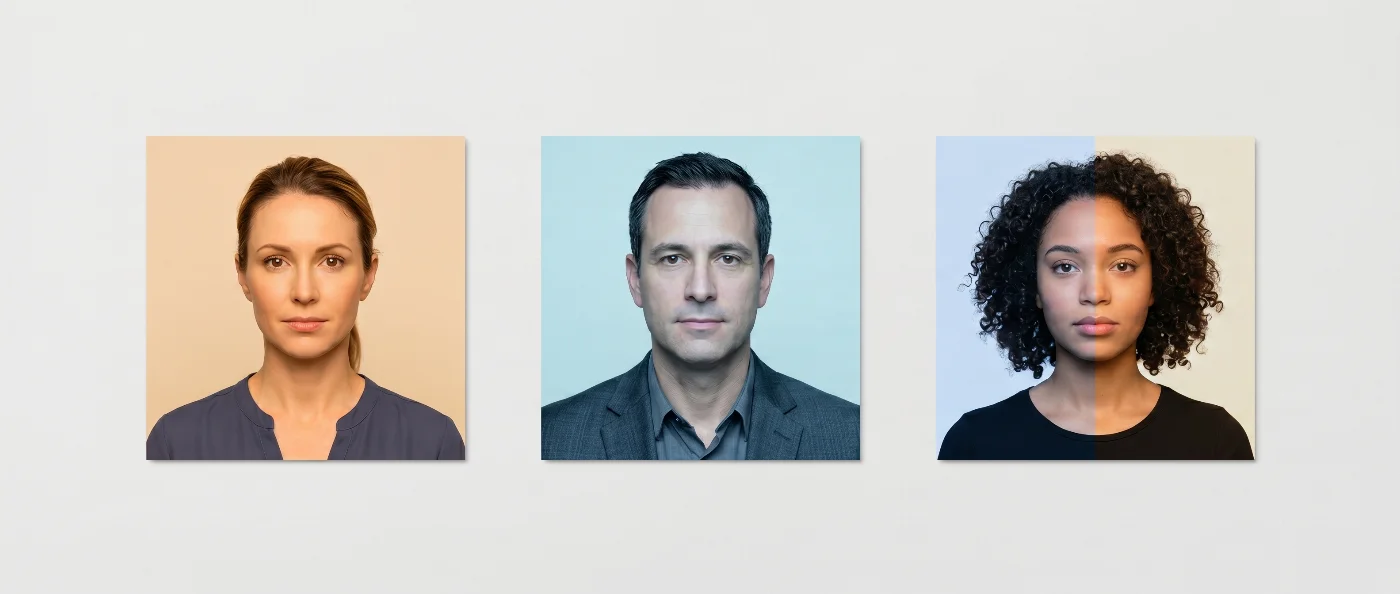
1. Incorrect Background Color
Walls that look neutral in everyday lighting often fail digital passport photo checks because the camera captures subtle color casts that the eye ignores. A truly acceptable background behaves like white in the image: it does not add a warm (yellow, beige) or cool (blue, green) tint and stays within a tight luminance and color range. Beige, cream, light grey, or pastel blue may appear “light enough” at home, but on a pixel level, they sit too far from white and are treated as non‑compliant for official passport photos.
Patterns, textures, or gradients make the background inconsistent: instead of one flat area, the system sees many small zones with different brightness and color, which are easy to flag as background defects or digital editing. Colored paint also reflects onto the skin, shifting measured skin tones away from the expected range for biometric matching.
That is why the U.S. Department of State requires a plain white or off‑white background with no patterns, gradients, or other elements: it keeps the background close to a neutral sRGB reference and avoids unwanted color spill from the wall onto the face. In digital checks, if the average background color or its variation moves noticeably away from that white reference, the image can be marked as a color compliance failure.
How to fix it. Take the photo against a plain white or off‑white wall. If your walls are colored or warm‑toned, use a white sheet or board as a temporary background. Avoid relying on filters or white‑balance tweaks to “fix” a tinted wall: the automated check still reads it as a colored background.
2. Non-Uniform White Background
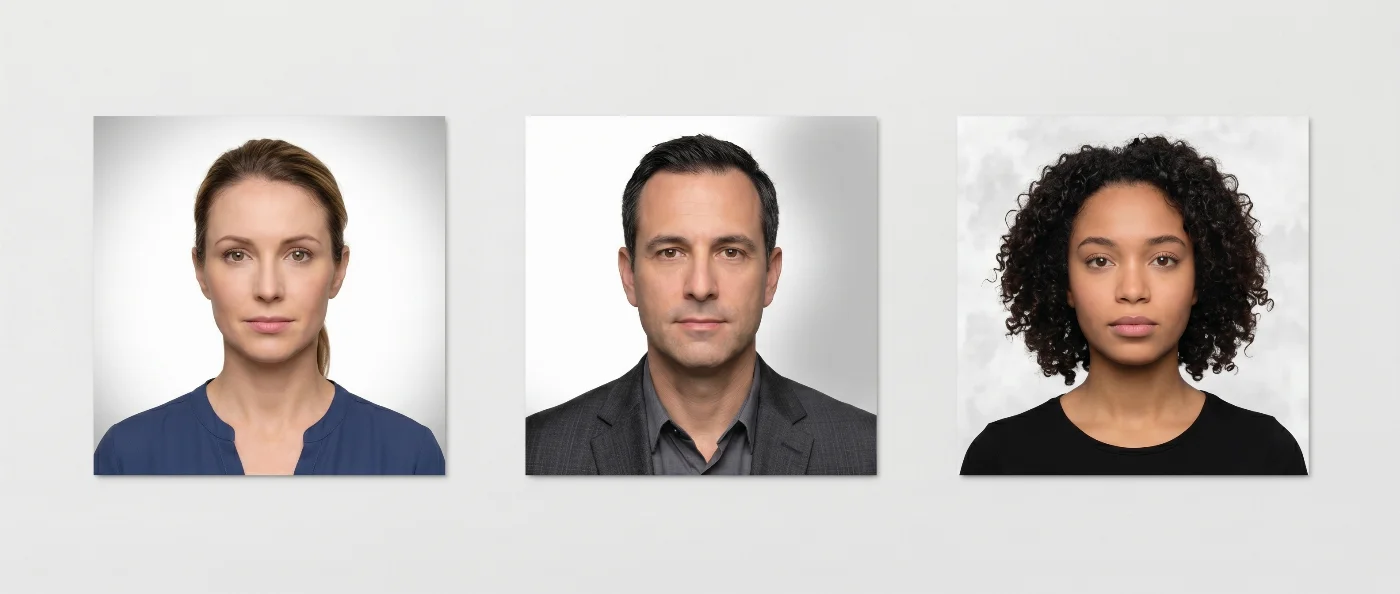
A background can look perfectly white on screen and still fail the uniformity checks used for digital passport photos. In a typical indoor setup, light almost never reaches the wall evenly: a window on one side and a ceiling lamp on the other create a gradual change in brightness that the camera records as a tonal gradient. Modern smartphones then apply HDR and local contrast optimisation, which further reshape how the wall is rendered and make small variations in brightness more pronounced.
During automated screening, the background is evaluated using pixel‑level brightness and exposure measurements. The system analyses the histogram and the luminance map across the frame to see how evenly tones are distributed, and applies exposure limits to confirm that the wall is neither too bright nor too dark overall. Even relatively small deviations from these ranges can cause the check to classify the background as non‑compliant and reject the photo.
How to fix it. Take the photo against a matte white wall or a dedicated backdrop. Use a second light aimed at the background to reduce shadows and brighten darker areas. Turn off HDR and lock exposure on the face so that the lighting stays consistent from shot to shot.
3. Background Shadows
Shadows behind the head are one of the most frequent rejection reasons in automated checks. They appear when the subject stands too close to the wall or when the light comes from a single direction. The shadow may fade gradually into the surface or end in a hard edge; both patterns interfere with background segmentation.
The algorithm cannot reliably separate the head from the shadow it casts. Instead of a clean silhouette, the segmentation routine detects a doubled or jagged contour, and once an irregular shadow edge is found in the background, the image is flagged as non‑compliant and rejected.
How to fix it. Stand at least three feet (about one meter) away from the wall so that any shadow becomes much softer and less visible. If the room is small, reposition the main light so the shadow falls outside the frame or add a soft fill light to brighten the background.
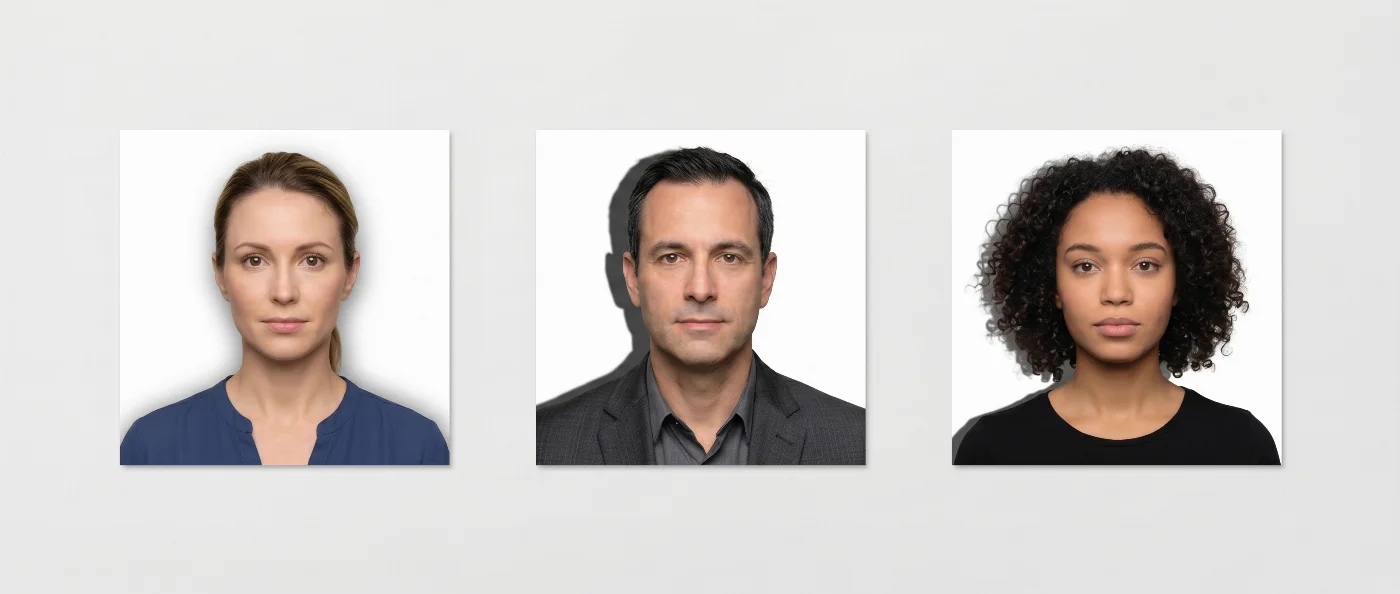
4. Overexposed or Faded Background

When the background is extremely bright, the camera turns the wall into solid white and removes almost all shading behind the head. As a result, the brightness of the face and the background becomes too similar for a clear boundary to be measured. The algorithm can no longer detect a stable edge between them, and the segmentation step fails.
How to fix it. Reduce the intensity of any light that hits the wall or move the light source farther away. The background should still appear white, but slightly darker than the brightest areas of the face, roughly one stop below full exposure, so that a clean edge can be detected.
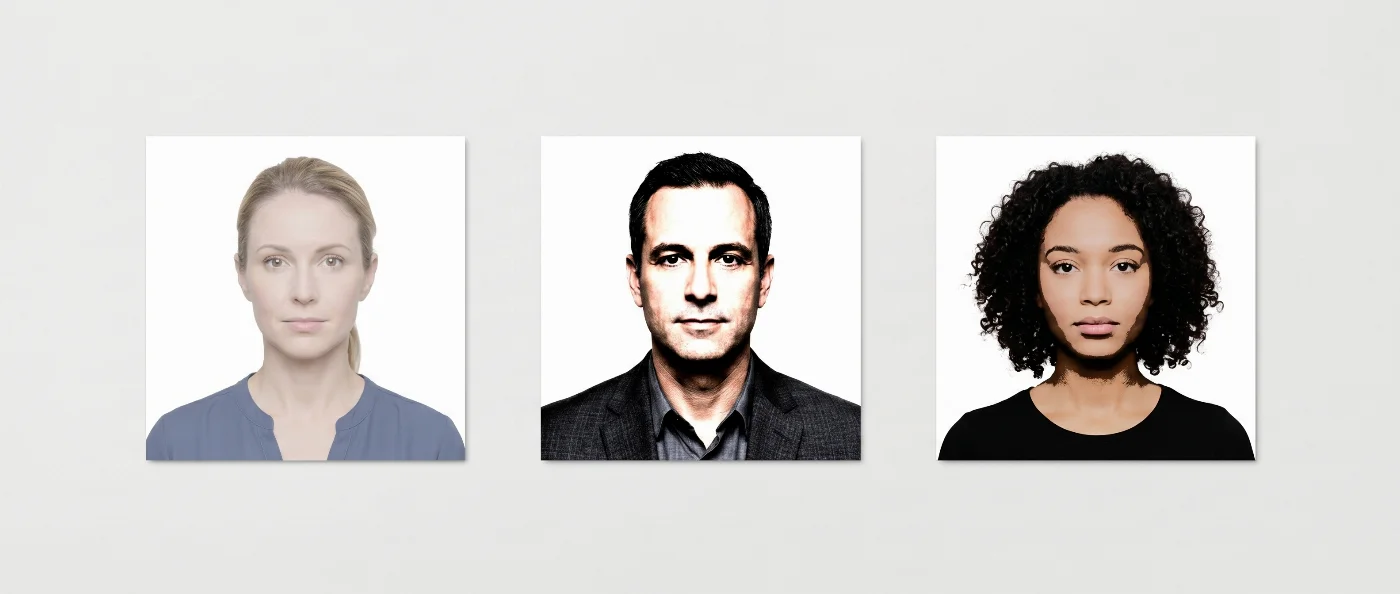
5. Artifacts from Digital Background Removal
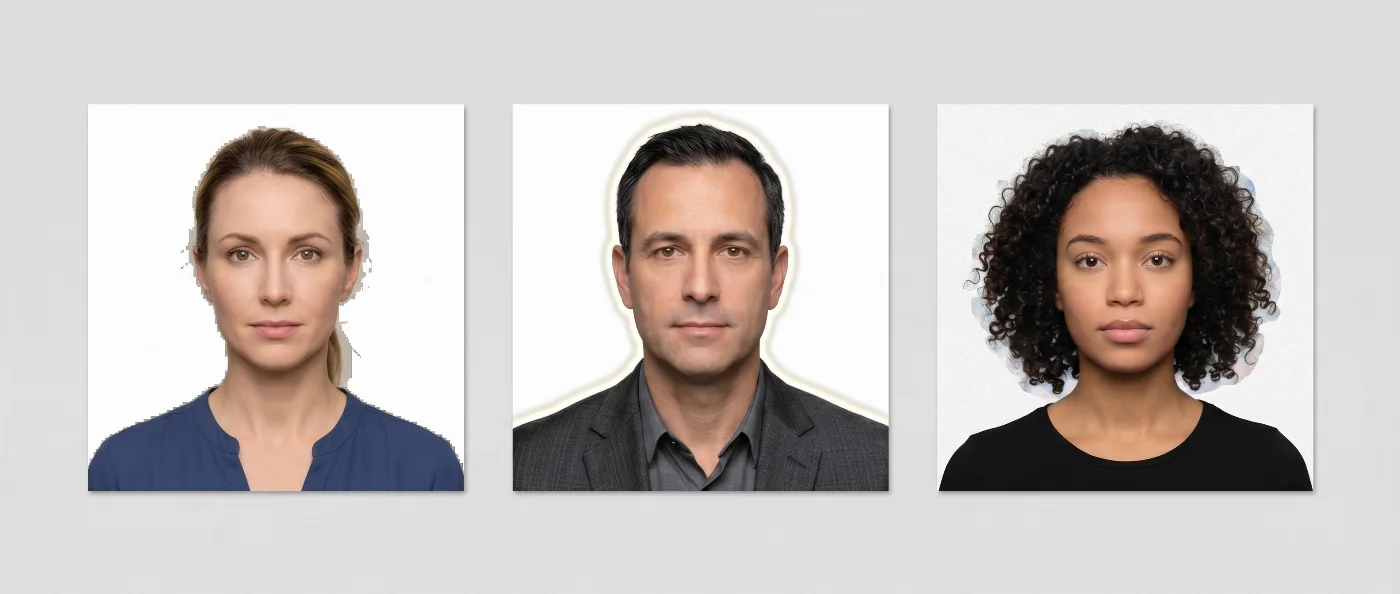
If you use low‑quality AI tools to cut yourself out from the original background, the resulting image is likely to show visible digital artifacts. Uneven or stepped edges along the hair and shoulders, semi‑transparent areas around fine hair, bright halos, and a background texture that does not match the rest of the image are strong signals for rejection in automated checks.
Modern digital photo validators are designed to detect this type of editing. Biometric rules require the portrait to be a direct, unmodified capture, and the software examines the border between the head and the background for artificial smoothing, repeated pixel patterns, and other small artifacts. Once these patterns are detected, the file is marked as altered, and the image is rejected.
How to fix it. Take the photo against a compliant background from the start. Use a plain white or off‑white wall with lighting that evenly illuminates both the subject and the backdrop. Rely only on high‑quality photo tools that provide biometrically compliant background removal and lighting adjustment, instead of aggressive cut‑outs that leave visible traces.
7 Key Lighting Errors in Digital Passport Photos
1. Shadows on the Face and Neck
Shadows on the face are one of the most common lighting issues in digital ID photos. They typically occur when the subject is illuminated by hard, directional light, such as a bare lamp, direct sunlight, or a phone flash. The same effect happens when the face is lit predominantly from the side, above, or from behind. Harsh shadows impair the reliable recognition of facial features by automated systems.
How to fix it. Use soft, even lighting that illuminates the face from the front. At home, the simplest option is to stand facing a window in daylight. If it’s not bright enough outside (a gloomy, rainy day), you can place two diffused light sources at approximately 45° to the left and right of the camera at eye level. It will help minimise shadows under your eyes, nose, and chin. Avoid camera flash, strong overhead lighting, and any backlighting, as they almost always create hard shadows that lead to rejection of ID photos.
2. Uneven Brightness or a Half-Lit Face
A face that is clearly brighter on one side than the other is another reason for automatic rejection. This issue is often caused by mixed or unbalanced lighting, such as a window on one side combined with an artificial light source of a different color temperature on the other. The system evaluates average luminance in several facial zones and rejects photos where the brightness difference between facial regions exceeds the permitted tolerance.
How to fix it. Ensure that both sides of the face are lit with similar intensity and color, or use a single, large, diffused light source as the primary illumination. A north-facing window combined with a white reflector or light-colored wall on the opposite side usually provides sufficient light. Always check the preview image to confirm that the face looks evenly lit before submitting the photo.
3. Overexposure on the Face
In an overexposed photo, parts of the face are lit so strongly that natural features — fine lines, pores, shading on the forehead, cheeks, and nose — merge into a uniform brightness. These digital photos won’t pass the automatic checks, as the face doesn’t contain enough usable detail for reliable analysis of its features.
How to fix it. Reduce the intensity or directness of the light on the face: move further from the lamp, or place a curtain, thin fabric, or other diffuser between you and the light source. Before submitting the image, make sure that even the lightest areas of the face still show natural shading and all small skin details are visible.
4. Underexposure and Noise
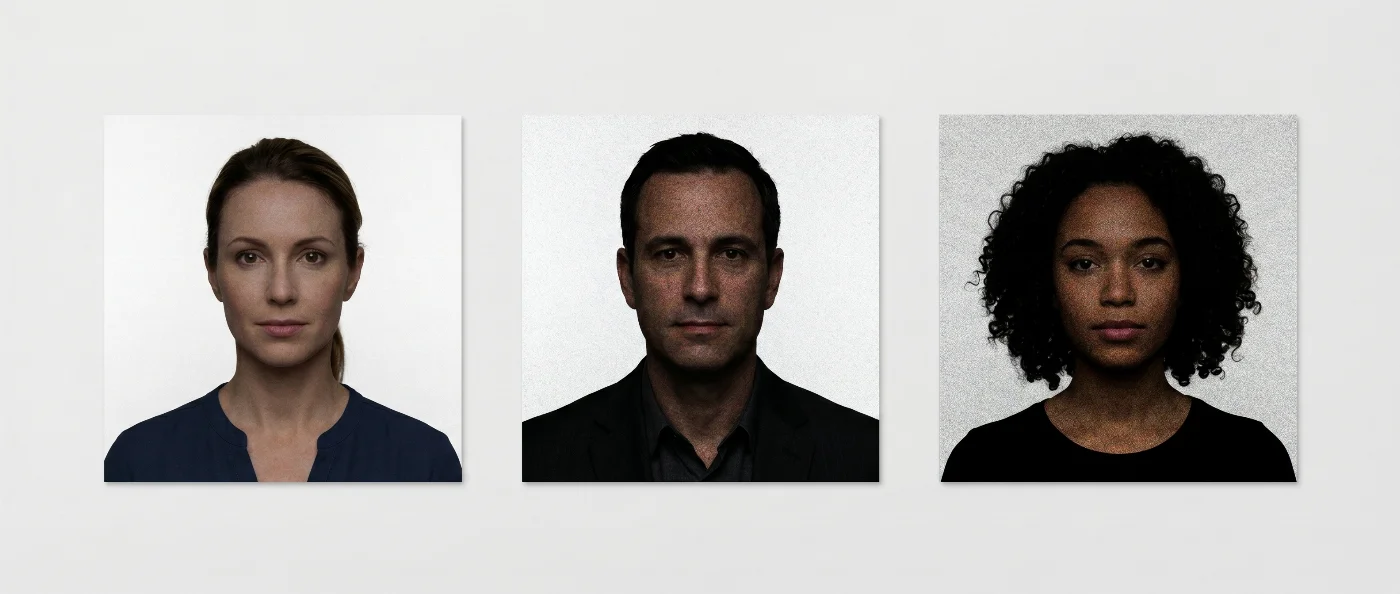
Underexposure produces the opposite problem. The image is dark, “noisy”, and grainy. Pixel-level noise obscures the fine detail that biometric systems rely on for feature extraction. ISO/IEC 19794-5 specifies that fine facial detail must be preserved in official ID photos. But, as the low-light artifacts distort the rendering of skin texture, it becomes unrecognisable for automated systems, and, therefore, gets rejected.
How to fix it. Add more natural light when you’re shooting the photo. Move to a well-lit room or use a lamp with soft lighting. Avoid aggressive noise reduction in editing software.
5. Glare on Glasses or Skin
Glare is another issue that “hides” facial detail in digital photos. It appears whenever a harsh light source, from direct sun to a phone flash, hits. It gives an unacceptable skin glow or creates a more serious issue — a light reflection on the glasses (if they are allowed in the photo). Glare blocks the automatic detection, leading to a rejection. This is exactly the reason behind the glasses ban on ID photos (not allowed on any official photographs in the U.S.)
How to fix it. Use a softer light source. Lowering the lighting angle may help. Remove glasses. If they must be worn for medical reasons, use anti-reflective lenses and reposition the light below eye level.
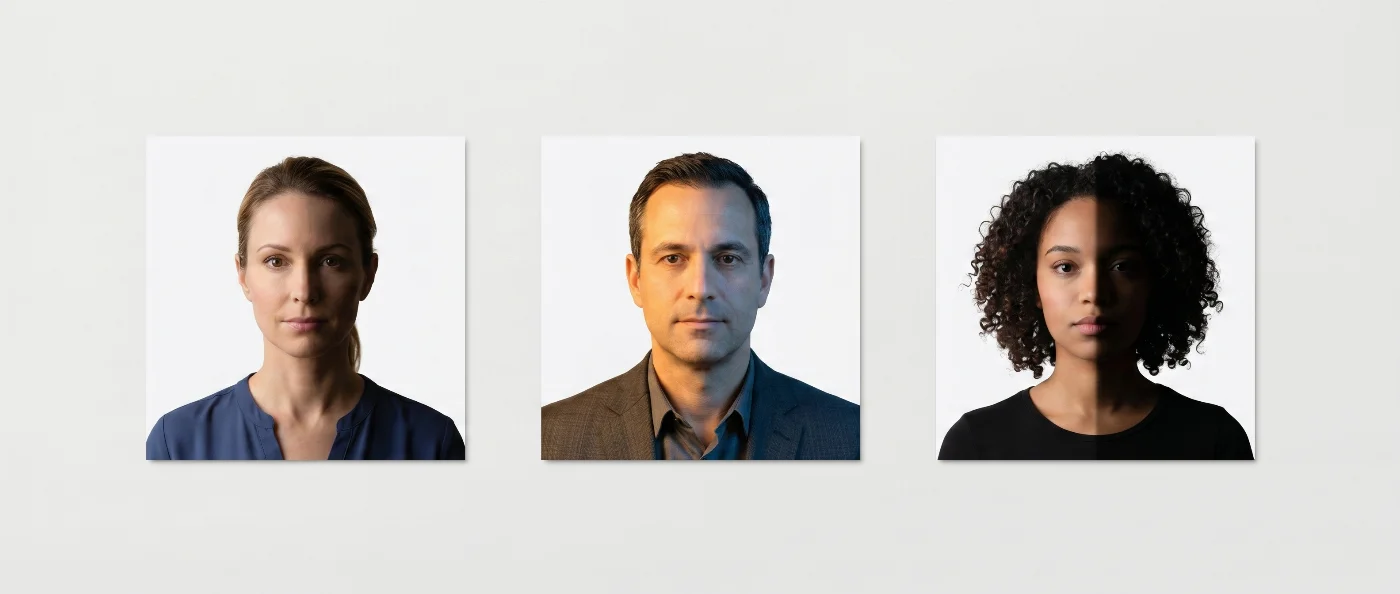
6. Color Temperature and White Balance Errors
Different light sources produce different color temperatures. Tungsten bulbs produce warm light (around 2700K); daylight — the cool one (5500–6500K). When both sources are present on the same photo, the result is uneven tonal rendering across the frame.
Automatic systems check the skin tones against the sRGB neutral reference. A significant warm or cool cast causes the skin tone to deviate from that reference, triggering a color compliance failure.
How to fix it. Use a single, consistent, light source. Natural daytime light from a window works best.
7. Contrast Balance Errors in Passport Photos
Contrast is another parameter to keep in mind when submitting a digital photo. Excessive contrast hardens facial features and deepens shadows, while too little contrast makes the face look flat and washed out; both patterns differ from what the biometric system expects in a compliant image. If the tonal range is too narrow or too extreme, the software cannot reliably track facial structure and flags the photo as non‑compliant.
How to fix it. Avoid high‑contrast filters or harsh directional light. Use soft, even illumination, and ensure the image preserves detail in midtones, shadows, and highlights so the face looks natural rather than overly dramatic or very low‑contrast.
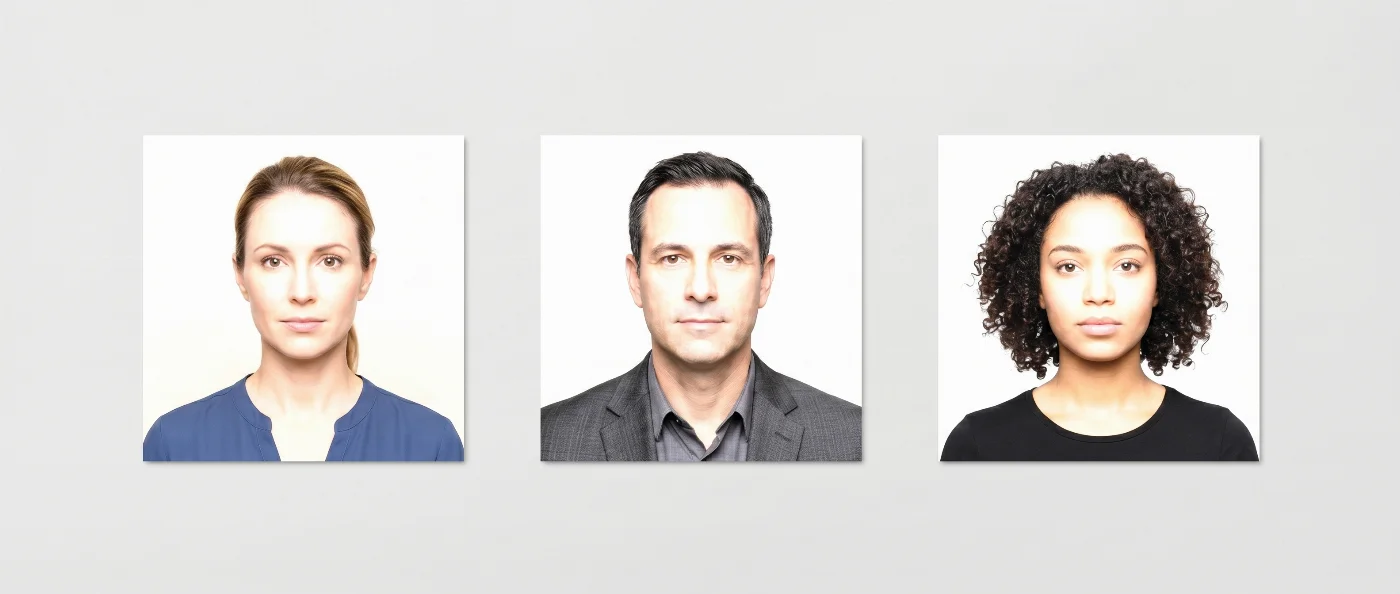
Pre-Submission Background and Lighting Checklist
Before you upload your digital photo to an official portal, take a moment to look at it the way the automatic system will, and check if there are any background or lighting errors that may cause a technical rejection. Use the short checklist below to avoid the photo bouncing back.
Background is plain and light (white or off‑white), with no patterns, objects, or visible edges.
Background is even across the frame, without bands, stains, or shadows.
Face is evenly lit: not too bright, not too dark, and clearly separated from the background.
No parts of the face are pure white or overly dark; natural shading on the skin is still visible.
Skin tone looks natural and consistent across the face, without strong color tints.
No strong shadows fall on the face, neck, or background; eyes, nose, and mouth are clearly visible.
Image is sharp and clean, well-defined, without heavy grain, smudging, or digital artifacts.
Fine details like hair, eyebrows, and skin texture can be seen without zooming in too far.
The photo is in color (not black‑and‑white) and saved with a standard sRGB color profile.
Get Your Digital Photo Accepted on the First Try: Avoid Background and Lighting Rejections
If you want your digital passport photo accepted on the first try, pay attention to its background and lighting — this is the first checkpoint your image goes through in an automatic system, and the most common reason it gets rejected. A plain light background, even frontal lighting without shadows or glare, and natural skin tones keep your photo within the strict technical thresholds, while “invisible” issues like slight gradients, color casts, or HDR artifacts quietly trigger refusal. To avoid this trial‑and‑error, use a reliable passport photo maker that applies these parameters for you and runs an automatic compliance check, so you spend less time retaking pictures and have a much higher chance of immediate approval of your digital file.
Frequently Asked Questions
What Are the Most Common Background and Lighting Mistakes in Digital Passport Photos?
The most common background and lighting mistakes in passport photos are:
Non‑uniform “almost white” background with visible gradients or bands
Colored or textured background instead of plain white or off‑white
Shadows behind the head or on the face and neck
Uneven brightness across the face (one side clearly brighter)
Overexposed face or background with lost skin and wall detail
Underexposed, dark image with visible noise
Glare on glasses or shiny skin from harsh, direct light
To avoid these problems, shoot against a plain light wall in soft, even frontal light, disable HDR and portrait mode on your phone, and check the preview for any shadows or color tints before you submit the photo.
What Background Color is Required for a Digital Passport Photo?
That depends on the country and the document type. As a rule of thumb, ID photos must have an even, plain white or off-white background, free of patterns, gradients, or texture. The background color must be represented naturally: even subtle warm or cool casts can be defined by an automated system as non-compliant.
Why Are Shadows Not Allowed in Digital Passport Photos?
Shadows are not allowed in digital passport photos because they distort the brightness pattern the system uses to detect facial landmarks and separate the head from the background. Any shadow on the face or wall creates extra edges and gradients that break the expected uniform field, so the image fails technical validation.
Why Was My Photo Rejected Though it Has a White Background?
A background may look white to you, but the camera still captures fine brightness gradients and color shifts created by the lighting. When the image is checked automatically, the system samples the background in several areas, and if any of those samples fall outside the required neutral and uniform range, the photo is rejected.
Why Does a Textured Background Fail the Background Check?
A textured background fails the background check because its surface relief creates countless small changes in brightness, even when the wall is white. The uniformity test expects a smooth, even luminance field, so these micro‑shadows and highlights are treated as excessive variation, and the image does not pass.
Why is My Passport Photo Background Flagged as Too Bright?
Your passport photo background is flagged as too bright when it is so overexposed that it clips to pure white and loses all detail. In this case, the tonal step between your head and the wall becomes too weak, and the system cannot clearly detect the boundary of the face, so the image fails the background check.
What Lighting Setup Is Best for Taking a Digital Passport Photo at Home?
The best lighting setup for a digital passport photo at home is soft, even light coming from a large window, without direct sun or harsh shadows. Stand about one meter away from a plain light wall, facing the window at a slight angle, and use a light-colored wall or sheet on the opposite side to gently reflect the light back onto your face so that both sides of the face and the background look evenly lit with no strong shadows or glare.
Can I Use a Flash When Taking a Digital Passport Photo?
No, you should not use direct flash when taking a digital passport photo. It easily creates harsh shadows, bright hotspots on the face, and glare on glasses, all of which are common reasons for automatic rejection.
Does Uneven Lighting Always Cause Passport Photo Rejection?
No, uneven lighting does not always cause passport photo rejection. Automated checks allow small brightness differences, but if one side of your face is clearly brighter or darker, or shadows are too strong, the image is likely to fail.
Why Glasses aren’t Allowed in Many Digital Passport Photos?
Glare on glasses causes rejection because bright reflections cover the eye area, hiding key biometric landmarks such as the inner and outer corners of the eyes. When these points cannot be located accurately, the system considers the photo unsuitable, even if the background and exposure are otherwise correct.
Can Mixed Light Sources Affect Background Compliance?
Mixed light sources can affect background compliance because each type of light has a different color temperature. When daylight, tungsten, and LEDs are combined, different parts of the wall and face receive slightly different color casts, which the color uniformity check detects as an inconsistency, and the image may be rejected.
Why Does Soft Natural Light Sometimes Still Cause Passport Photo Rejection?
Soft natural light from a window can still cause rejection if it comes from one direction and makes one side of the face and background brighter. Without a reflector or secondary light to balance it, this creates a measurable gradient that may fall outside the allowed uniformity range.
Why Does the Contrast Between the Head and the Background Matter?
The contrast between the head and the background matters because the system needs a clear tonal step to separate your face from the wall. If your skin and the background are too close in brightness or color, the edge of the head becomes hard to detect, and the algorithm may not be able to trace your outline reliably, which can cause the photo to be rejected.
Do Smartphones Make Background and Lighting Problems Worse?
Smartphones can make background and lighting problems worse by applying aggressive automatic processing such as HDR, AI exposure, skin smoothing, and portrait mode effects. These adjustments often introduce artificial gradients, halos, and edge artifacts that conflict with strict biometric photo requirements and cause rejections.
Can I Correct a Lighting Problem in Editing Software After Taking the Photo?
You can correct minor lighting issues with small exposure and white balance adjustments, but only if the original photo is already close to compliant. Heavy editing that changes tonal gradients, introduces halos, or alters edges is usually picked up by integrity checks and can cause the image to be rejected as manipulated. When you use PhotoGov, you can add professional lighting correction as a premium option, which also includes five extra versions of your photo with different outfit styles from casual to more formal — this both increases the likelihood of acceptance and saves you time on manual edits.
Can I Replace the Background of My Passport Photo Digitally?
Yes. But you should only replace the background of your passport photo with a professional passport photo tool that is designed for document compliance, such as PhotoGov. Self-editing or using generic background changers can easily introduce visible artifacts, wrong colors, or incorrect cropping, which often leads to automatic rejection of the photo.
What Is the Most Common Cause of Digital Passport Photo Rejection?
The most common technical cause of digital passport photo rejection is incorrect background and lighting. Non‑uniform “white” backgrounds, shadows on or behind the head, and non‑neutral background colors are the issues that automated systems flag most frequently.
How Can I Check My Passport Photo for Background and Lighting Compliance Before Submitting?
You can check your passport photo by running it through an online compliance tool that tests background uniformity, exposure, contrast, and color against standard rules. This lets you catch background and lighting problems early and retake the photo before it delays your application.
Was this helpful?
81 found this helpful
Authored by:
Nathaniel K. Rowden (Compliance consultant)Top expert
Verified by the Photogov compliance team
ICAO 9309-compliant
Based on official government sources
Helpful votes: 81
Was this helpful?
81 found this helpful
We value your Privacy
We use cookies to enhance your browsing experience, serve personalized ads or content. By clicking “Accept All”, you consent to our use of cookies.