How to Take a Photo for a Job Application at Home: a 2026 Expert Guide
Want to know how to take a photo for a job application at home? Use a plain background, soft light from a window, and a phone placed at eye level about 4–6 feet (1.2–1.8 m) away. Take a head-and-shoulders photo, looking into the lens with a natural expression. Save it in the size and format requested by the employer or job platform. Use the PhotoGov Resume photo maker to adjust the image or create professional business looks with a casual-to-formal clothes change service. For a small square image, our 1x1 photo tool crops the file to that format.
How to Take a Job Application Photo at Home: 8 Steps
You’re planning to apply for a new job and need to update your CV? This simple task suddenly comes with a long list of questions. What kind of photo to attach? What background should you use? Should you smile? What should you wear? Is a phone camera good enough?
The good news is that you don’t need a studio or a professional photographer. A plain wall, soft window light, and a smartphone are enough to take a professional photo at home. This guide walks you through the process, from choosing the right format to making, editing, and submitting the image.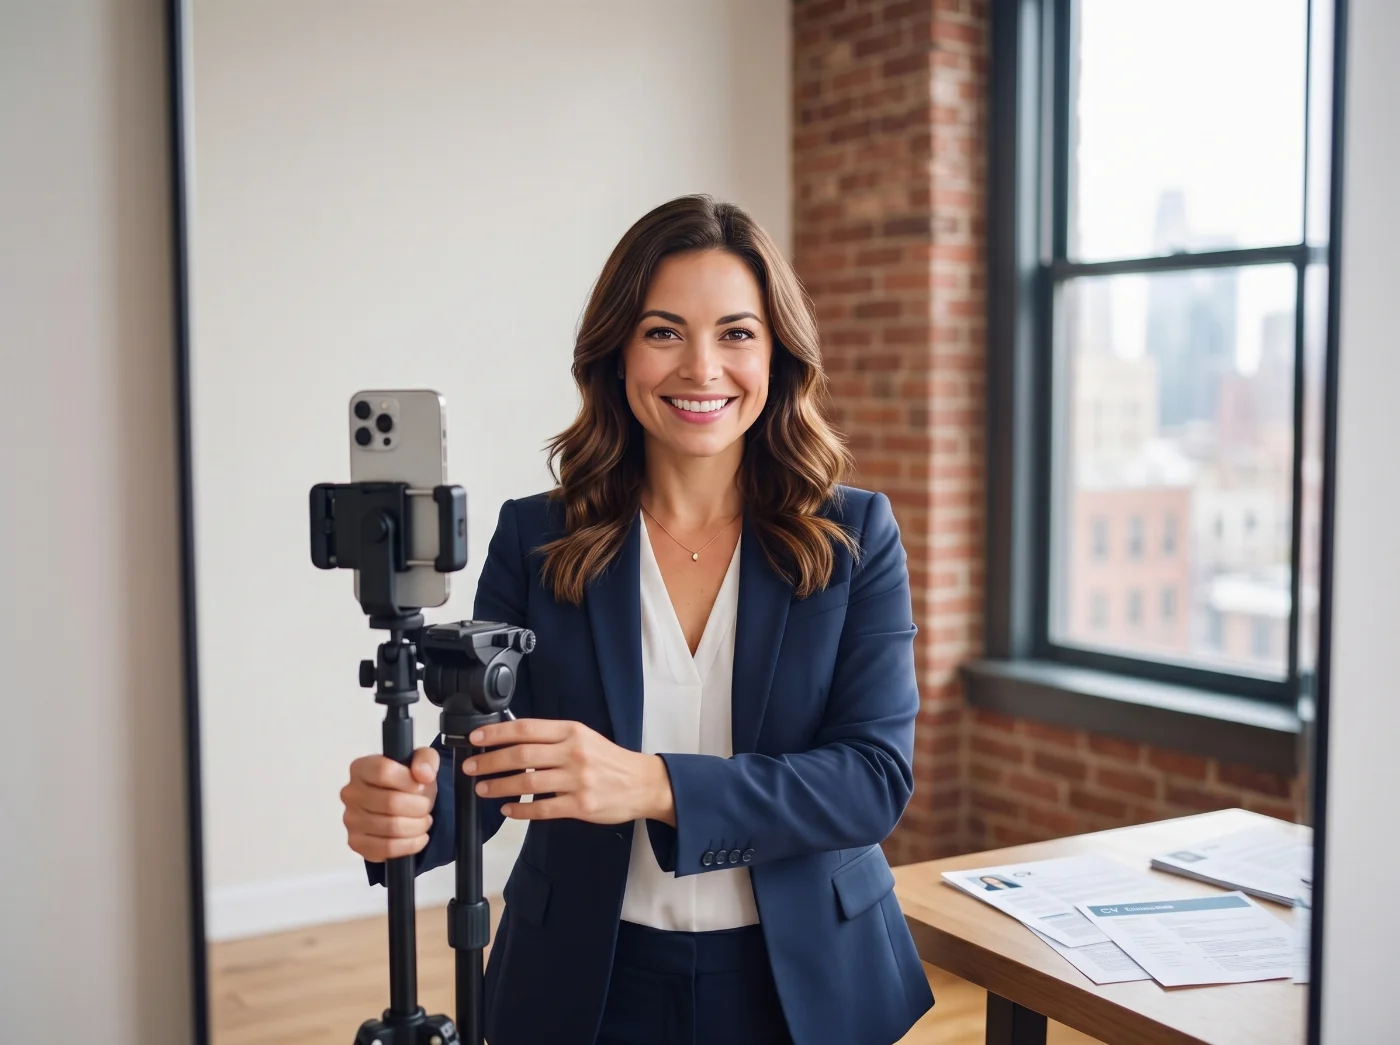
Step 1: Check the Photo Requirements
Before you take the photo, open the application or upload page and check what the employer or platform asks for. Photo requirements vary, and the instructions on that page always come first. Write down:
the required width and height;
the shape of the photo: square, vertical, or circular;
the accepted file type, such as JPG or PNG;
the maximum file size;
any rules for the background, clothing, or expression.
If no dimensions are listed, take a high-resolution head-and-shoulders photo with some extra space around you. You can crop it later for LinkedIn, an employer portal, a company profile, or a printed CV. When a form asks for a 30x40 photo size, the same portrait can be converted to it later.
Step 2: Find a Plain Background
Find a smooth wall in white, light gray, beige, or another soft neutral color. Remove pictures, shelves, plants, door frames, and anything else that may appear behind you.
Stand at least 3 feet (1 m) away from the wall. This keeps your shadow off the background and gives the photo a cleaner, more professional look. If you don’t have a suitable wall, use a large piece of matte poster board or a smooth sheet with no visible folds.
Choose clothing that stands out from the background. A light shirt can disappear against a white wall, while a medium or dark color creates a clearer outline.
Step 3: Use Soft, Even Light
Stand near a large window with the light coming from in front of you or slightly from the side. This gives your face soft, even light and keeps both eyes clearly visible.
Direct sunlight is usually too harsh. Move farther from the window or use a thin curtain if you see bright spots on the skin, deep shadows, or squinting. Turn off warm ceiling lights while using daylight so your skin tone stays consistent across the photo.
If you’re wearing glasses, take a test shot and check the lenses. Moving the light a little higher or farther to the side is often enough to remove glare.
For an evening photo, place two similar lamps near the camera, one on each side and slightly above eye level. Bounce the light off a pale wall if the shadows look too strong.
Step 4: Set Up Your Phone
Clean the camera lens with a soft cloth. Place the phone on a tripod, shelf, or stable stack of books, and use the regular 1× camera. The ultra-wide lens can stretch facial features when the phone is close.
Keep the camera at eye level and about 4–6 feet (1.2–1.8 m) from your face. This distance gives you more natural facial proportions than an arm’s-length selfie. Use a timer, a remote shutter, or ask someone to take the photo for you.
The main rear camera often gives you the clearest image, especially indoors. A front camera can also work if the photo is sharp. Turn off beauty filters, skin smoothing, face reshaping, and any setting that changes your appearance.
Regular photo mode is the safest option. If you use Portrait mode, zoom in after the shot and check the edges of your hair, glasses, and shoulders for blur or cutout marks.
Step 5: Get the Framing Right
Frame the photo from the upper chest or shoulders to just above the head. Keep your full head, neck, and both shoulders in the picture, with a small amount of space above your hair.
Place your face near the center and keep the phone level. Look directly into the lens. A slightly wider photo is easier to crop later, especially if the platform displays it as a circle.
Take one test photo and preview it in the shape you need. Check that the top of the head, chin, and shoulders remain visible after cropping.
Step 6: Choose What to Wear

Wear the same type of outfit you would wear to a good first meeting in your field. A jacket may suit a law, finance, consulting, or senior role. A neat shirt, blouse, knit top, or simple overshirt may feel more natural for technology, education, health care, design, hospitality, or a startup.
Solid colors and subtle patterns photograph well. Choose a color that contrasts with the background, and check the collar, shoulders, lint, and wrinkles before the photo.
Keep jewelry simple and logos small. Your clothes should support the impression you want to make while keeping the attention on your face.
Step 7: Find a Natural Pose and Expression
Sit or stand tall with your shoulders relaxed. Keep your head upright and bring your chin slightly forward and down. You can turn your shoulders a little if it feels natural, while keeping both eyes clearly visible.
A small, genuine smile works well for most professional profiles and company pages. A calm neutral expression may suit a more formal application. Choose the expression that feels natural for your field and still looks like you.
Take a slow breath before the timer starts. This helps your face and shoulders relax, which makes the photo look more confident and approachable.
Step 8: Take Several Photos and Choose the Best One
Take 15–20 photos with small changes in your smile, chin position, and shoulder angle. Pause between groups, look away from the camera, blink, and reset your posture.
Review the photos at full size. Check that:
both eyes are sharp;
the glasses have no glare;
the skin tone looks natural;
the shoulders look even;
the background is clean;
the expression feels relaxed;
the photo looks like you today.
Choose the photo that feels clear, current, and professional. A natural image will serve you better than the most heavily posed or edited one.
How to Edit and Save Your Job Application Photo
Keep the Editing Light
You can adjust the crop, brightness, white balance, and contrast. These changes help the photo look clean while keeping your appearance true to life.
Keep your natural skin texture, facial features, hairline, and body proportions. One-tap headshot filters and AI tools can change small details in ways that become obvious during an interview or video call.
Save the Right File
Keep the original photo, then save a separate version for each platform. Use the file type, dimensions, and size limit listed on the upload page.
JPG is the most common choice for online applications. PNG is also accepted by some platforms. For digital uploads, the pixel dimensions matter more than the DPI number. DPI becomes important when the instructions specify a physical print size.
Open the saved file before uploading it. Check the sharpness, crop, file size, and filename one last time.
Prepare the Photo With PhotoGov
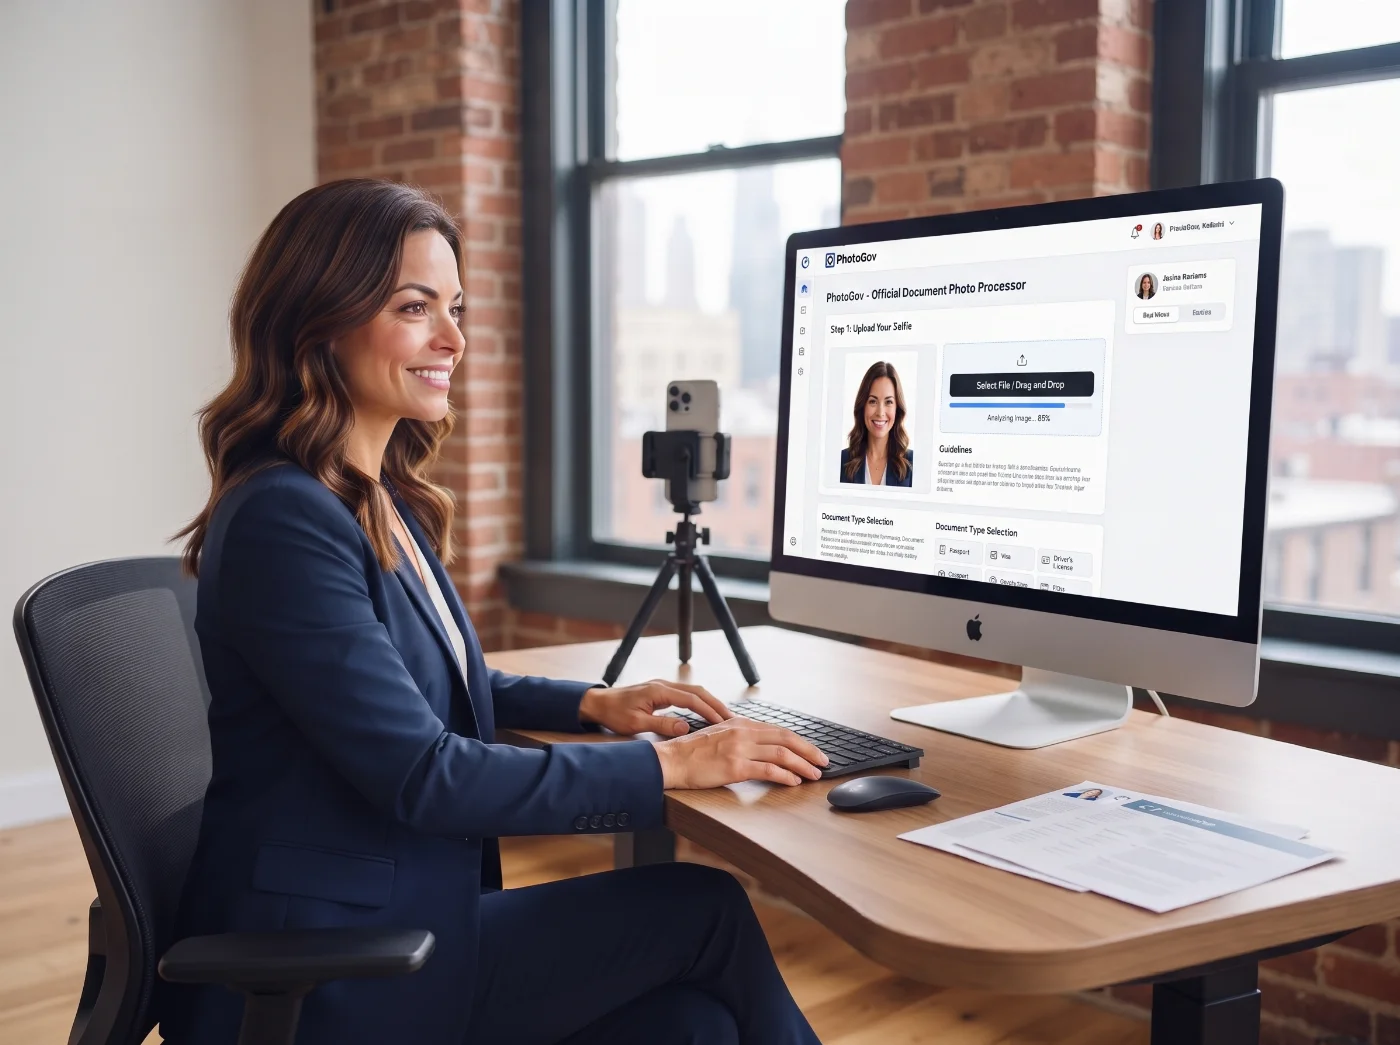
PhotoGov can prepare the crop and file size once you have chosen your best photo. Select the resume photo format requested by the employer or platform, upload the original, and review the preview before downloading. For a square centimeter format, our 4x4 cm photo tool resizes the same portrait to that size.
Use the square 2×2-inch resume photo tool for a square file and the 35×45 mm resume photo tool when a vertical format is requested. Keep the downloaded file together with the original so you can create another size later. That square is also listed as a 2x2 photo in cm, for employers who ask in centimeters.
The vertical option is prepared by our 35x45 mm photo tool, which is also used for passports and Schengen visas.
Add a Premium Business Clothes Option for a Professional Look
PhotoGov’s recent Premium casual-to-formal clothes feature is especially handy in job applications. After you upload your correctly taken selfie, the online passport photo maker can automatically replace your outfit with stylish business looks. An initial add-on includes 5 professional looks, and you can get 9 more for a little extra.
Quick Check Before You Upload
The file type and size match the upload instructions.
The photo has the correct shape and dimensions.
Your eyes and face are sharp.
The light is even across your face.
The background is plain and free of shadows.
Your glasses have no glare.
Your head and shoulders fit comfortably inside the crop.
The photo reflects your current appearance.
The saved file opens correctly.
Should You Include a Photo in a US Job Application?
In the United States, most private-sector resumes do not include a photo. The U.S. Equal Employment Opportunity Commission advises employers to request only information needed to assess whether a person is qualified for the job and says employers should not ask applicants for a photograph before an offer is made and accepted.
You may still need a professional photo for LinkedIn, MyERAS, a company profile, an employer portal, a portfolio, or a role where appearance is part of the application. Use the guidance below to place the photo correctly.
Private-Sector Resume
Leave the photo off a standard US resume unless the employer clearly requests one. When an application includes a separate photo field, upload the image there and follow the listed requirements.
Federal Resume and USAJOBS
USAJOBS tells applicants to leave photos of themselves out of federal resumes and profiles. Keep your professional headshot on LinkedIn or your portfolio rather than adding it to the federal application.
LinkedIn Profile Photo
LinkedIn accepts JPG and PNG profile photos from 400 × 400 pixels up to 7,680 × 4,320 pixels, with a maximum file size of 8 MB. Keep your face near the center and leave some space around your head because LinkedIn displays the image as a circle in many places.
MyERAS Photo
The AAMC accepts JPG/JPEG or PNG photos up to 150 KB and asks applicants to keep the face centered. Programs most often use the photo to identify applicants when they arrive for an interview, so choose a clear, current image with natural editing.
Employer Portals, International CVs, and Casting Applications
Follow the instructions on the application page. An employer portal may request a square headshot, an international CV may use a vertical portrait, and a casting notice may ask for a specific headshot or full-body image.
Save one high-resolution original and create the required version for each application.
Common Job Application Photo Mistakes
Camera Too Close. A camera held at your arm’s length can make the center of the face look larger. Place the phone on a tripod with the rear camera up front, move it 4–6 feet away, and use the timer.
Shadow on the Background. A shadow on the background can throw off the whole image, making your face poorly visible and the whole shot unprofessional. Stand at least 3 feet from the wall and keep the main light near the camera.
Mixed Lighting. Window light and warm room light can give each side of the face a different color. Use daylight on its own or use lamps with the same color temperature.
Tight Crop. A close crop leaves little room for a square, circle, or vertical version of your business shot. Keep a wider original that shows your head and shoulders with sufficient space around them.
Heavy Editing. Strong skin smoothing, face reshaping, artificial hair, and generated clothing can make the photo look less credible. Do not overuse the editing; keep the photo looking as natural as possible.
Old Photo. Use an image that matches your current hairstyle, facial hair, glasses, and overall appearance. Update it after a noticeable change.
One File for Every Platform. LinkedIn, MyERAS, employer portals, and printed CVs may use different dimensions and file-size limits. Save a separate version for each one.
Frequently Asked Questions
Should I Put a Photo on My Resume in the United States?
No. Most US private-sector resumes do not include a photo. Use your professional picture on LinkedIn, a portfolio, or in a corporate profile. Add one to an application when the employer provides a photo field or clearly asks for a separate image. USAJOBS requires applicants not to attach a photo on federal resumes.
Can I Take a Job Application Photo With My Phone?
Yes. A smartphone can produce a professional photo when the lens is clean, the phone is stable, the light is soft, and the camera is placed at eye level. A simple home setup is enough for most online profiles and employer portals.
Which Phone Camera Should I Use for My CV Photo?
The main rear camera provides the clearest and sharpest shot — but you have to place it on a tripod or ask someone to take a photo. A good front camera can also work — but only if there is sufficient lighting, the background is plain, and you hold it steady at arm's length. Turn off beauty filters, skin smoothing, and portrait mode. Take a few shots, choose the best one, and use it for your application.
What Background Is Best for a Job Application Photo?
A plain white, light gray, beige, or soft neutral background works well for most professional photos. Use the background color listed by the employer when one is specified. Be mindful of your clothing: it’s not good if it blends with the backdrop, so choose an outfit in contrasting colors.
How Far Should the Camera Be From My Face?
When using a rear camera, place the phone on a tripod about 4–6 feet (1.2–1.8 m) away. This results in more natural facial proportions than an arm’s-length selfie and leaves enough space for a head-and-shoulders crop.
Should I Smile in a Professional Photo?
A natural smile works well for LinkedIn, company profiles, and most professional headshots. A calm neutral expression may suit a formal application. Choose the expression that feels appropriate for your field and comfortable for you.
What Should I Wear for a Job Application Photo?
Wear the same type of outfit you would wear to a good first meeting in your field. Solid colors and subtle patterns are easy to photograph. Choose clothes that fit well, contrast with the background, and highlight your face.
Can I Wear Glasses in My Job Application Photo?
Yes. If you wear glasses every day, they can stay on. Move the window or lamps until your eyes are clearly visible through the lenses and the reflections disappear.
Can I Use a Selfie for My Job Application Photo?
Yes. A phone is perfectly suitable, but the photo will look more natural when the camera is placed on a stand several feet away. Use a timer or ask someone to take the photo so you have enough room for a clean crop.
What Size Should a Job Application Photo Be?
There is no universal size for a job application photo. Follow the dimensions, shape, file type, and file-size requirements listed by the employer or platform. LinkedIn and MyERAS, for example, use different technical requirements.
How Much Editing Is Acceptable for a Job Application or CV Photo?
Crop, brightness, white balance, and light contrast adjustments are usually enough. Do not use beauty filters or AI enhancers. Keep your facial features, skin texture, hairline, and body proportions true to life so the photo still looks like you.
Can I Use an AI-Generated Headshot?
Better not. A recent real photo is the safest choice for an application. AI-generated headshots can slightly change facial features, hair, clothing, or proportions. Use a genuine photo with simple technical corrections for sizing, crop, and framing.
How Recent Should the Job Application Photo Be?
Use a photo that reflects your current appearance. Take a new one after a noticeable change in hairstyle, facial hair, glasses, or another feature that affects how easily people recognize you.
How Do I Make a Job Application Photo With PhotoGov?
Take a clear head-and-shoulders photo, choose the PhotoGov resume photo format requested by the employer or platform, upload the original, and review the crop. Download the digital or printable file, and submit it with your application.
Official Sources
Guidance on pre-employment inquiries and applicant photographs: U.S. EEOC
Profile photo specifications: LinkedIn
Photo instructions: AAMC MyERAS
Related guides
- https://photogov.net/documents/zz-26x32mm-photo/
- 2x2 cm picture size
- https://photogov.net/documents/zz-35x40mm-photo/
- 4.5 x 4.5 cm photo size
- https://photogov.net/documents/zz-5x5-photo/
- https://photogov.net/documents/zz-600x800-pixel-photo/
- 6x9 photo size in cm
- https://photogov.net/documents/zz-resume-35x45-mm-photo/
Was this helpful?
61 found this helpful
Top expert
Based on official government sources
Helpful votes: 61
Was this helpful?
61 found this helpful
Service provided by Y VISION TECHNOLOGIES LLP · Stoney Works 8 Stoney Lane, London, England, SE19 3BD · Terms · Refund policy · Contact
We value your Privacy
We use cookies to enhance your browsing experience, serve personalized ads or content. By clicking “Accept All”, you consent to our use of cookies.